Give a useful capture room to breathe
Screenshot Beautifier
Turn a local screenshot into a clean presentation image. Keep the full capture, add a background and choose the spacing, corners and optional window frame.
The same capture, presented clearly
Show the point. Keep the detail.
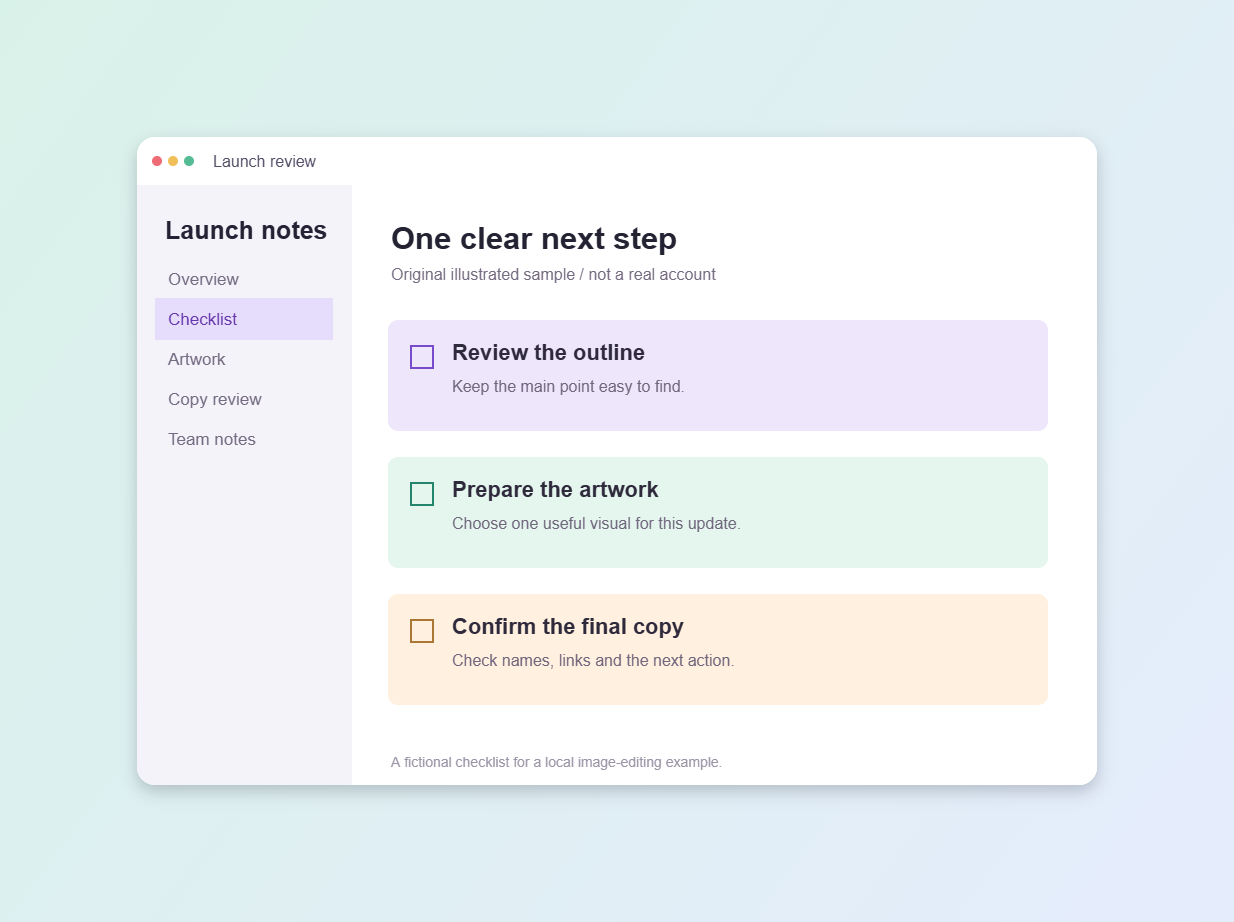
Original illustrated sample, not a real account or an exact browser simulation.
Start with the actual image
Give your screenshot a clear setting
Choose a local still image or load the sample. The editor contains the whole prepared screenshot instead of cutting it to fill the canvas.
Presentation choices
No screenshot selected.
Padding, radius and shadow use reference pixels. Enlargement never adds recovered detail. The generic window bar is optional.
Your styled screenshot
Background colors
No redaction: review private names, messages and keys before sharing. Saved JSON and the PDF attachment contain the complete prepared capture, including pixels trimmed by rounded corners. Images stay local; ordinary site resources and the public example still load. No autosave or image upload.
Still PNG/JPEG/WebP up to 15 MiB, 40 MP and 12,000 pixels per edge. Prepared PNG up to 2,048 pixels per edge, 4 MP and 2 MiB. Output up to 2,560 pixels per edge and 5 MP. PDF pages are rasterized; keep text notes for the complete choices.
How the layout is built
Contain the capture. Style the surroundings.
Keep the whole prepared image
The screenshot fits inside the available space with its aspect ratio intact. It is not a cover crop.
Make the framing deliberate
Background, margin and a generic window bar add context without pretending to reproduce native social placement.
Save the artwork and the source
Use PNG/JPG for posting and keep the editable project when the design may need a later change.
Understand the job: presentation around a prepared screenshot
A useful screenshot often needs a little space around it before it is ready to share. A white application panel can disappear against a white page, a desktop capture can look abrupt in a presentation, or a review image can need a consistent title. This tool handles that surrounding presentation. You choose one prepared screenshot, a canvas format, and visual settings; the image remains contained rather than automatically cover-cropped. The result is still a picture of your source. It is not a reconstructed application, an interactive demo, or a system that decides which parts of the screen matter to the reader.
The platform contexts are Instagram, Facebook, LinkedIn, TikTok, YouTube, Snapchat, Threads, X, and Reddit. They help place the preparation task in the social workflow you have in mind. They do not connect accounts, reproduce native composers, or guarantee that every destination will accept or display an export in the same way. The same honest boundary applies to each context: this tool prepares a static asset. Check the actual destination and current publishing flow yourself, particularly when an image will be used in a format with additional layout, accessibility, or media requirements outside this editor.
Our worked case is a small team preparing a launch-checklist image for a new resource library. The checklist contains four public tasks: check links, test downloads, review the support contact, and approve the announcement. The team wants a clear review image, not a fake screenshot of a social post or a claim that launch quality has been independently verified. The tool example is also a fictional neutral checklist, not a capture of SMTasker itself. Keeping that distinction visible helps you use a demo as a starting point without confusing sample content with a real product interface or completed work.
Prepare the source before importing it
First decide what the reader must learn from the capture. For the resource-library launch, the useful information is the four task labels and their visible status, together with a heading that identifies the checklist. Open a shareable source view containing those details and use your own screenshot method. Remove unrelated windows, account menus, and notifications before capturing. This editor has no screen-capture command, source-URL import, OCR, or annotation layer. If an arrow, a crop, or a corrected label is necessary, prepare that change elsewhere and select the resulting safe image here. Presentation starts after the source has been made accurate and appropriate.
Supported source files are still PNG, JPEG, and WebP within the input limits: at most 15 MiB, 40 megapixels, and 12000 pixels on either edge. These are separate limits; a small compressed file can still contain too many pixels. The editor normalizes an accepted source to a prepared PNG bounded by a 2048-pixel edge, 4 megapixels, and 2 MiB. This working image may therefore be smaller than your original capture. Keep the original separately if it matters to your archive. An editable project stores the prepared version, not a promise of the original file, filename, metadata, or full original resolution.
Look at the smallest meaningful text before you import. In the checklist case, the word Downloads and its status marker matter more than a large page heading. If those details are already soft or compressed, no shadow or background can restore them. Recapture from a clearer application view where possible. A tiny source enlarged later remains a tiny source with more displayed pixels. If you only need to change dimensions for a separate deliverable, the Image Resizer may be a more direct next step. Choose the tool that matches the job rather than adding a decorative frame when size alone is the problem.
Choose containment, canvas shape, and readable scale
Containment keeps the complete prepared screenshot inside the available image area while preserving its proportions. A source that is wider than the chosen canvas leaves surrounding space rather than losing its left and right edges to a cover crop. Optional rounded corners can still trim small corner pixels. The screenshot scale control, from 40 to 100 percent, changes the size of that complete contained image. It does not move a crop window around the source. If one label needs to become much larger while everything else stays fixed, you need a different source capture or another editing workflow, not a different interpretation of this control.
Compare the available preparation formats against the source shape. Square is 1200 by 1200, portrait is 1080 by 1350, vertical is 1080 by 1920, and landscape is 1600 by 900. Auto builds around the image with padding and any frame, subject to output bounds. The final output stays within a 2560-pixel edge and 5 megapixels; Auto may scale the whole composition down to fit those limits. These are our preparation presets, not official native sizes or maximums for nine social platforms. A vertical canvas does not turn an image into a video or add destination-specific controls, sound, or stickers.
Enlargement is off by default. Keep it off while checking whether the source has enough useful detail. If you enable enlargement, understand that it changes displayed size without recovering missing letters, sharpness, or interface information. Also inspect the result at a realistic reading width. For example, a 30-pixel-high label in a 1000-pixel-wide screenshot becomes roughly 12 displayed pixels high when that screenshot is viewed 400 pixels wide. That simple proportion illustrates the tradeoff; it is not a simulation of a social feed. Extra background space can reduce the image area further, so judge the label in the complete composition, not in isolation.
Set the surround and the optional window title
Choose a solid color or a two-color linear gradient, then compare it with the screenshot rather than only with your brand palette. The tool offers five palettes and editable colors or gradient endpoints. A white checklist may need enough surrounding contrast to show its boundary; a dark interface may benefit from a lighter background. Keep attention on the information-bearing area. Reference padding runs from 0 to 160, radius from 0 to 48, and shadow from 0 to 40. These are presentation controls, not privacy controls or platform recommendations. Begin modestly and change one setting at a time so the effect of each decision remains clear.
The optional light or dark window bar is generic decoration. It is not an exact browser window, operating-system frame, phone mockup, or native social-network screenshot. Use it when a short title helps identify the image, and leave it off when the screenshot already provides that context. The title accepts a single line with up to 80 Unicode characters. It is fitted down to a minimum 12-pixel size or refused if it cannot fit; it is not silently shortened with an ellipsis. A concise factual title is easier to review than a long claim squeezed into a decorative bar.
Turning the frame off makes the window title inactive while preserving its valid saved value for later use. Do not assume an invisible title is part of the exported artwork. When you turn a frame back on, review the title again in case it belongs to an earlier source. Likewise, inspect every corner after increasing the radius. A clipped status marker at the edge of a checklist can change its apparent meaning even though the editor never applies a cover crop. Reduce the radius or remove it when edge information matters. Decoration earns its place only when it improves separation, identification, or consistency without making the actual screenshot harder to read.
Work through a launch-checklist review image
The resource-library team begins with a clean 960 by 640 capture showing the heading Launch review and the four public checklist rows. All four rows are marked complete in this fictional example. The reviewer first checks those labels and statuses against the source record; the beautifier does not validate them. No customer names, internal URLs, or access notes are present. The team selects the image and compares Auto with square. Auto follows the relatively wide source more closely, while square adds more surrounding space. The team chooses the version in which the task labels remain readable at the review size, not the one with the largest decorative margin.
For an initial candidate, use a solid pale blue background, reference padding 48, radius 0, shadow 8, screenshot scale 100 percent, and no window bar. These are example settings for this source, not universal defaults or an exact geometry formula. Square corners preserve the row edges, the modest shadow separates the white checklist, and the existing source heading makes another title unnecessary. Download a PNG and inspect it at a small viewing width. If the status markers are hard to distinguish, reduce the surrounding space or return to a clearer source. Do not compensate by claiming that enlargement improves the underlying evidence.
The review note says: Resource-library launch checklist, demonstration capture; four listed tasks marked complete. Confirm the actual launch record before publishing. That wording distinguishes a visible checklist state from an independent audit. The team saves the approved image and editable project, then writes its public announcement separately. If the announcement needs a text-first design instead of an interface image, the Quote and Social Post Card Maker is a more suitable place to compose that separate asset. The screenshot tool does not turn checklist rows into editable text objects, generate an announcement, or infer what the team should say about launch readiness.
Keep local processing separate from safe sharing
The selected image and entered text are processed locally by this tool. Ordinary website resources and the demonstration still load, so local processing does not mean that the entire site is offline or makes no network requests. The tool does not fetch screenshots from accounts or send the source to an AI service for analysis. It also does not automatically save your project for a later visit. Download the files you need before leaving. These boundaries describe the editor workflow; they do not remove your responsibility to choose a source that you are allowed to show to the intended recipients.
Review the entire prepared screenshot before sharing anything. Rounded corners can hide small areas in the visible composition, but they do not remove those pixels from the stored source. The JSON project retains the full prepared capture, and the PDF review includes a complete project attachment. A private email near a corner therefore remains in that editable material even if the artwork appears to conceal it. The window bar, background, and generic stored image name are not redaction. If private content is present, remove it at the source or with a suitable separate process, then start again from a safe capture.
Apply the same practical check to notes and ordinary image exports. PNG, JPG, and the PDF proof contain screenshot pixels; notes can reveal internal plans even when the image is safe. Share the public image with people who need the picture, and share the project only with people who need its full editable contents. For the launch-checklist example, a public-safe demonstration is simpler than passing around a real internal board and hoping each recipient notices its sensitive parts. Keep this review short and specific: inspect the source, inspect the notes, identify the recipient, and send only the material required for that handoff.
Choose exports according to what happens next
PNG is a sensible first comparison for interface text because it avoids JPEG compression artifacts. It still reflects any resizing already applied to the source. JPG can be useful when a different file tradeoff is needed, but inspect fine text, separators, and small symbols in the actual downloaded result. Compare both at the same viewing size. The artwork has no compulsory advertising watermark. That does not certify the screenshot, approve its contents, or guarantee how another service will process it. Open the export after downloading and check that the source, title, background, and visible details are the revision you intended to hand over.
Editable JSON is the route back to the saved screenshot and presentation settings. Projects have a 4 MiB limit and include the bounded prepared image, so they are not just color presets. Save separate project files when you need separate revisions. The PDF is a styled visual review document with the complete project attached; do not confuse its proof view with a new high-resolution original. Text and copy notes support a separate handoff when someone needs the explanation or review context. None of these exports imports a screenshot project into SMTasker or turns a source capture into a scheduled social action.
Give each file a clear role. In the launch-checklist case, the PNG is the approved picture, the JSON is the editable record, and the PDF helps a reviewer inspect the composition and retain its project. The written note records what still needs confirmation outside the image. A collaborator who only needs the picture need not receive all of them. Before closing the page, check that the saved project exists and that you can identify the current revision. The absence of autosave makes this small habit important. A successful download is a file you have inspected and can find again, not merely a button click that appeared to finish.
Review the explanation and keep recurring work organized
Ask a reviewer what the finished image communicates without introducing it first. For the launch checklist, they should identify the four public tasks and understand that the capture is a demonstration of a checklist state, not proof of an audited launch. If they cannot read a row, revisit source quality or composition. If they can read everything but draw the wrong conclusion, revise the accompanying explanation. These are separate checks. A good-looking border does not establish comprehension, and a large output dimension does not establish readability. Judge the asset against the task it needs to perform for a particular reader.
Keep essential information available as real accompanying text when publishing. Describe the meaningful interface state, supply relevant dates or scope, and use the destination image-description field where available. The Alt Text Writer and Reviewer can help organize a separate description draft; you still need to compare it with the final image. This editor does not extract screenshot text or fill accessibility fields for you. If a lesson needs multiple source views, prepare separate assets in an appropriate workflow. The beautifier edits one screenshot at a time and does not create a batch, build a sequence, or convert static captures into a video.
For repeated work, keep a short style record and a clear approval process. Reuse a background or frame choice where it helps consistency, but recheck each new source, title, and explanation. Check the real publishing composer before sharing an image in any of the nine contexts, including X. Save the current asset before changing it for another use. When account setup, supported actions, schedules, and activity review become the repeated problem, consider a separate SMTasker workflow. Keep the boundary intact: this free tool prepares local screenshot presentations, while social account operations and their available actions belong to a different product and still require your review.
Choose the relevant use case
Platform and screenshot-design guides
Each guide uses a different example, with a practical reason for the image and a clear return to the same editor.
Instagram Screenshot Editor
Present one recipe-app tip without losing the interface detail that makes the image useful.
Read the guideTikTok screenshots
Prepare a static study-workflow capture as a photo asset, not an automatically converted video.
Read the guideYouTube screenshots
Give a spreadsheet lesson a useful image Post and a clear connection to the actual teaching content.
Read the guideFacebook Screenshot Editor
Share an event-planning calendar with enough context for the volunteers who need to read it.
Read the guideLinkedIn Screenshot Editor
Explain a specific product-interface change with an accurate screenshot and an editorial handoff.
Read the guideThreads Screenshots
Keep a plant-care journal update conversational while showing what changed in the actual screen.
Read the guideX Screenshots
Pair a software-settings or release capture with concise X copy and a deliberate source scale.
Read the guideSnapchat screenshots
Prepare a static study-group screen for a readable story asset, without imitating native overlays.
Read the guideReddit Screenshots
Retain the numbers and labels that make a repair or configuration screenshot useful in a discussion.
Read the guideScreenshot Backgrounds
Choose the background, margins and frame that support a checklist instead of distracting from it.
Read the guideScreenshot readability
Distinguish source pixels, display size and enlargement when an image must be read on a phone.
Read the guideQuestions about styling your screenshot
Does Screenshot Beautifier crop or zoom into my screenshot?
It contains the whole prepared screenshot inside the canvas. The 40 to 100 percent scale control changes that complete image, not a crop window. Optional rounded corners can trim corner pixels in the visible composition.
Can it take screenshots, redact information, or read text with AI?
No. Supply a prepared still image. The editor has no screen capture, source-URL import, crop, redaction, blur, annotations, OCR, or AI processing.
What stays local, and what is saved in a project?
Your image and entered text are processed locally while ordinary site resources load. There is no automatic project autosave. JSON and the full project attached to the PDF retain the complete prepared screenshot, so inspect them before sharing.
Are the canvas presets guaranteed native platform formats?
No. Auto, square, portrait, vertical, and landscape are preparation choices provided by this tool. The nine platform contexts do not certify acceptance, native placement, or unchanged display. Check the destination composer.
Does enlargement make a small screenshot sharper?
No. Enlargement is off by default and cannot recover source detail. Use a clearer original or simpler source view when small text is unreadable, then inspect the downloaded result at a realistic viewing size.
Beyond the next screenshot
Try SMTasker for repeated account work
Try SMTasker for 5 days with connected Android devices and a Windows or macOS local client. Optional Skye is built in and uses your OpenAI or Anthropic key with separate usage costs. Screenshot projects do not import as automations.