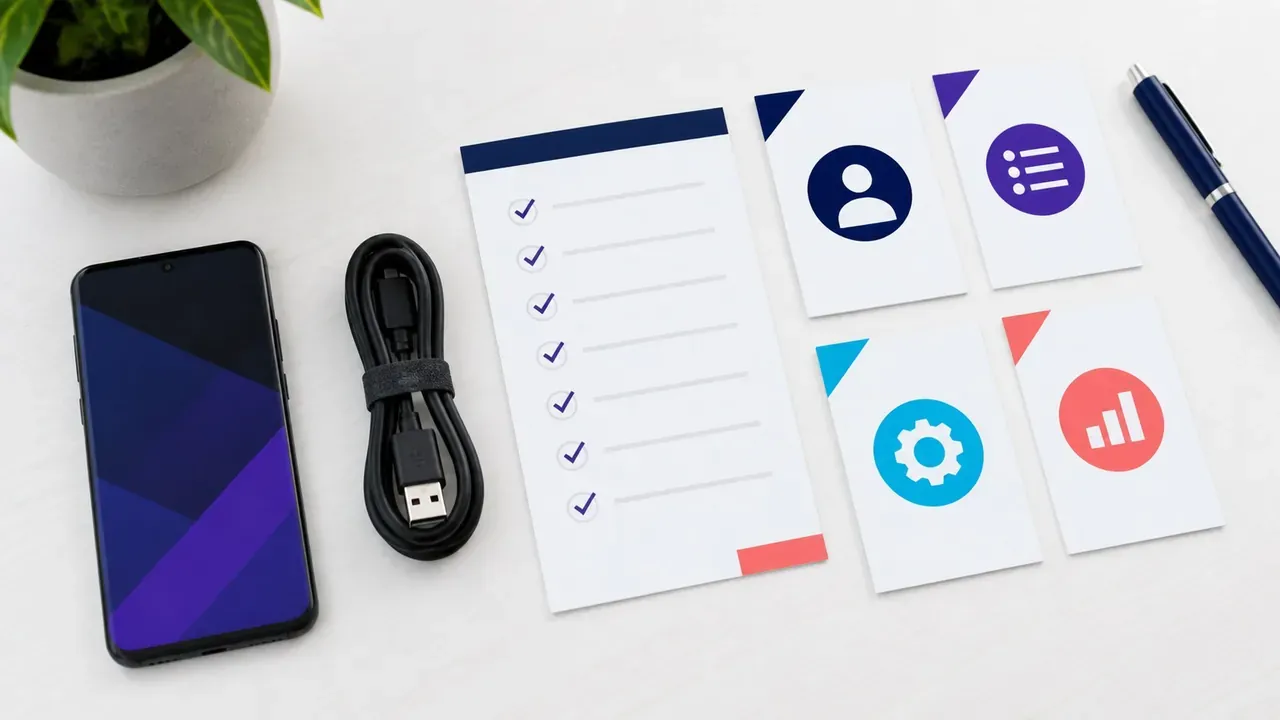
Instagram automation for beginners can look more difficult than it really is. A dashboard may show devices, accounts, automations, sources, settings, results, and logs at the same time. You do not need to learn all of them at once.
Your first goal is much smaller: make one useful action run on one account, then confirm exactly what happened. That single success teaches the structure behind every other SMTasker workflow.
Instagram Automation for Beginners: The First Result
For this guide, make an approved publishing task your first production workflow. The Like example below explains the source-and-action structure, but automated engagement can conflict with platform rules. A small setting is not a guarantee of permission or protection from restrictions.
The finished workflow has six parts:
- An Android phone is connected and visible in SMTasker.
- Your Instagram account is added and linked to that phone.
- A Like automation exists for the account.
- At least one relevant source is active.
- The task has active days, hours, and values chosen by you.
- You can open the results and see what the task did.
This is the basic model for how to automate Instagram with SMTasker: device, account, tool, source, run, review. Publishing uses a Media Folder as its source, while engagement tools use people, accounts, hashtags, search terms, or lists. The structure remains familiar.
Instagram Automation for Beginners: What to Prepare
Prepare these four things before opening several setup pages:
- a Windows or macOS computer for the SMTasker local client;
- a physical Android phone and a working data cable;
- the Instagram account you want to add;
- an SMTasker account and an active plan or five-day free trial.
SMTasker uses the Android phone as the execution layer. Actions are visible on the phone, while the dashboard gives you one place to organize devices, accounts, tools, sources, schedules, and results.
On a new phone, you may need to enable Developer options and USB debugging. Android provides an official guide to configure on-device developer options. Its Android Debug Bridge documentation also explains how the computer communicates with a connected device.
Step 1: Connect and Verify the Android Phone
Install and open the SMTasker local client on your Windows or macOS computer. Connect the Android phone with its data cable. Unlock the screen and accept the USB debugging prompt if Android shows one.
Open the Devices area in SMTasker. The phone should appear as available or online. Give it a name that will still make sense when you add more devices. Pixel-Office-01 is more useful than Phone.
If the phone does not appear, check the easy items first:
- the cable supports data, not only charging;
- the phone is unlocked;
- USB debugging is enabled;
- the computer was approved on the phone;
- the SMTasker local client is open;
- the device status is visible in the dashboard.
The full SMTasker device guide covers naming, status, and device management in more detail.

Step 2: Add the Instagram Account
Next, open Accounts and add the Instagram account you want to automate. Link it to the connected Android device. Use a recognizable display name so you do not have to remember which username belongs to which project.
Keep the account organization clear from the beginning. A useful name can include the client or brand, the platform, and the purpose. Tags can later group accounts by client, niche, team, or campaign.
Confirm that Instagram opens correctly on the phone and that the intended account is active there. This small check prevents you from building a complete workflow around the wrong profile. See Adding Social Accounts for the current account fields and screen flow.
Step 3: Choose One Objective and One Tool
Open Automations and create an automation for the Instagram account. Choose one tool that matches one result. For example:
- Like: interact with posts found through selected sources.
- Follow: discover and follow users from a source pool.
- Comment: post prepared or generated comments on selected content.
- Story Viewer or Reel Viewer: run a viewing workflow.
- Contact: work with specific users, new followers, or inbox replies.
- Publish: publish prepared content from Media Folders.
Do not activate several tools just because they are available. A clean first Instagram automation workflow should answer one question: did this tool use the source and settings I intended?
Step 4: Add the Source, Filters, and Schedule
Every tool needs somewhere to get its work. Open the Sources tab and choose a source that fits the objective. A Like workflow may use specific users, account search, hashtag search, or the Explore feed. A Contact workflow can use a prepared username list. Publish needs a Media Folder containing ready content.
Enable only the source you want to test. Add a small, relevant list of inputs. If you use filters, start with the ones that are essential to your goal. A filter stack can become so narrow that almost every possible target is skipped, which makes a healthy task look broken.
Then open Settings:
- Choose the active days.
- Choose the active time window.
- Enter the hourly or daily values you want to test.
- Review tool-specific options.
- Save the configuration.
- Set the tool status to started when you are ready.
These values belong to your workflow. The purpose of the first test is not maximum output. It is clear feedback.
Step 5: Run a Small Test You Can Observe
Keep the phone visible when the task first starts. You should be able to see Instagram open and the workflow move through its steps. This gives you immediate context if the task waits, skips an item, or cannot find work.
While it runs, check three places:
- Devices: confirms the phone and local client are online.
- Automations: confirms the correct tool, account, device, and status.
- Activity Log: shows the wider stream of actions and errors.
If nothing begins, first check the status, device, current time, active days, and active source. Those five checks solve many first-run problems.
Step 6: Read Results, Statistics, Summary, and the Activity Log
Running the task is only half of the setup. The other half is knowing where to read it.
| View | What it shows | Question it answers |
|---|---|---|
| Results | Individual action rows and outcomes | What exactly did the tool act on? |
| Statistics | Actions per day over a date range | Is activity continuing over time? |
| Summary | Each complete run, including scheduled and completed work | What happened during each run? |
| Activity Log | Events and errors across devices, accounts, and automations | Is a wider device, account, or client problem involved? |
The detailed Results and Statistics guide explains these tool-level views. Export useful records before clearing anything. A history that looks unimportant today may explain a repeated issue later.
Add a Second Workflow Only After the First One Is Clear
Once you can explain the first workflow in one sentence, add a second. For example, keep the Like workflow and add Publish from a prepared Media Folder. Or add Follow with a different source list.
Use the same sequence:
- Name the outcome.
- Select the account and tool.
- Add the correct source.
- Choose settings and active hours.
- Run a test.
- Read the results.
This repeated process is more valuable than memorizing every field. It lets you grow from one tool to a complete Instagram automation setup without turning the dashboard into a list of tasks you cannot explain.
Instagram Automation for Beginners: Checklist
- The Windows or macOS local client is open.
- The Android phone is online in Devices.
- The correct Instagram account is linked to that device.
- The automation has a clear name and one purpose.
- At least one compatible source is enabled.
- The schedule includes the current day and time when testing.
- The tool status is started.
- Results, Statistics, Summary, and the Activity Log have been checked.
- You wrote down what worked and what needs one change.
That is enough for day one. Good automation grows from a workflow you understand, not from switching on everything at once.
Instagram automation for beginners starts with a written brief
Before choosing a tool, write a brief containing the account, intended audience, approved action, source, owner, and definition of success. For a publishing workflow, success might mean that one approved image appeared on the correct profile, with the correct caption, once. That definition is much easier to verify than “grow the account.” Growth involves content quality, audience fit, and many decisions outside a scheduler.
Instagram automation for beginners becomes manageable when the brief also names what should happen if the task fails. Choose a person who will inspect the phone and the public post. Decide whether a missed time means publishing later or holding the item for review. A restaurant lunch announcement and an evergreen photography tip have different recovery options. Treat that decision as part of the workflow, not a detail to improvise after a failure.
Use a short record such as “Account: studio main; action: publish approved studio introduction; source: ready folder; owner: Maya; check: public post and tool result; exception: hold if the launch time passes.” This is an illustrative brief, not a report of an actual customer setup. You can keep it in an ordinary document alongside the content assets. It does not require a new software system.
Separate permission from technical capability
Instagram automation for beginners needs a clear distinction between what software can attempt and what Instagram permits. A connected Android device does not exempt an account from Instagram rules. Random intervals, small action counts, paid subscriptions, and realistic-looking activity are not promises that an action is acceptable or will avoid enforcement. Check the purpose and method of every workflow before starting it.
Read Meta’s current spam policy before enabling engagement or repeated outreach. Keep interactions useful and relevant, avoid repetitive comments and unwanted commercial contact, and stop when Instagram presents a restriction or verification request. Do not treat those prompts as obstacles to work around. A legitimate publishing requirement can often be handled with native scheduling or other supported features, depending on the account and content.
For Instagram automation for beginners, an especially useful question is whether a human would approve the same action after seeing its full context. If a comment could be pasted under any photograph, it probably adds little. If a message assumes interest that the recipient has never expressed, automating it increases the scale of that assumption. Fix the underlying communication before considering the execution method.
Prepare a small media queue that cannot surprise you
An approved queue should contain finished work. Check the final image crop, video playback, caption, call to action, music rights, destination link, and account assignment before the content enters the ready folder. A file being present is not the same as the content being approved. Keep drafts and rejected versions elsewhere so they cannot enter the task by accident.
Instagram automation for beginners works best with a naming convention that carries meaning. An illustrative filename is “studio-introduction-reel-approved-v2,” paired with a separate record of the intended date and owner. Avoid filenames such as “final-final-new,” which hide the relationship between versions. If an asset changes after approval, move it back into review rather than silently replacing a ready file.
Check the content on a phone before starting the task. Desktop previews can hide tiny captions, clipped subtitles, awkward opening frames, or a call to action covered by native controls. For a short video, listen to the actual export rather than assuming the editing project and exported file match. These checks reduce avoidable mistakes without increasing automation complexity.
Use Skye to prepare proposals with a review step
Skye can help prepare proposals for user approval. It uses the user’s OpenAI or Anthropic key, and provider usage is a separate cost. Treat a proposal as a draft to assess against your brief. Confirm the intended account, source, language, content claims, and action before approving it. A fluent explanation is not evidence that the underlying business choice is right.
In Instagram automation for beginners, a useful Skye request is narrow: describe the approved content objective, explain the audience, and ask for a proposed workflow you can inspect. Avoid asking for an open-ended growth campaign before you understand the tools involved. Review how the proposal maps to the device, account, source, schedule, and expected result described earlier.
Do not add confidential customer details just to make a prompt sound specific. Use the minimum context needed, and inspect generated captions for invented product features, unsupported claims, or an inappropriate tone. If the proposal contains an action you cannot explain, pause approval and resolve that action first. Human review should change what happens when necessary, not merely acknowledge a polished draft.
Troubleshoot in the order the workflow depends on things
Start with the device and local client, then account access, task status, schedule, source, filters, and output. This order follows the dependency chain. A perfect caption will not solve an offline phone, and a working device will not create work from an empty folder. Record the exact symptom before making a change so the next observation has something to compare with.
Instagram automation for beginners can become confusing when several settings change at once. If the source is empty, add one approved item and test that change. If the time window excludes the present time, correct the window and observe the next run. Do not simultaneously change the source, filters, account assignment, and schedule, because you will not know which change mattered.
If a task reports success but the content is absent, inspect the correct public profile and the actual output, not just the aggregate counter. If the task reports an error but a post exists, avoid immediate retries until you know whether retrying would create a duplicate. In both cases, preserve the original result and timestamp. The record helps distinguish a reporting delay from an execution failure.
A practical first-week review
Use the first week to learn the workflow rather than to increase its workload. On the first working day, connect the device and confirm the account. Prepare and approve one piece of content. On the next suitable day, run the task while someone can inspect it. Review the public result and save the relevant outcome. This is an example sequence; the right pace depends on the actual task.
For Instagram automation for beginners, the review should include quality as well as reliability. Was the post useful? Was it appropriate for the audience? Was the caption still timely when it appeared? Did the promised destination exist? Did a person answer relevant responses? A publishing process can operate correctly while the content itself needs improvement, and those are separate findings.
At the end of the week, list one thing to keep, one thing to correct, and one unresolved question. Keep the source and schedule stable while fixing the most important issue. Only add another workflow once the first has a clear owner and a clear review method. This prevents the work from expanding faster than your ability to supervise it.
Measure time saved alongside work created
Automation can reduce repetitive preparation or execution, but it also creates review, maintenance, and recovery work. Compare the whole process. Note the time spent preparing content, checking proposals, maintaining the device, verifying output, and dealing with errors. You do not need second-by-second tracking; an honest weekly estimate is enough to reveal whether the workflow is helping.
Instagram automation for beginners should produce a practical benefit that survives this accounting. A workflow that saves a few minutes of publishing but causes repeated correction work may need a different source, clearer approval, or a simpler objective. Avoid judging success by the number of tools enabled. The useful outcome is approved work completed with less avoidable effort and a record you can trust.
If several people share responsibility, assign one owner to each handoff. The person who approves a caption need not maintain the phone, but both should know who verifies publication. Keep access and recovery details in the team’s established secure process. This is routine operational organization, not a reason to distribute account passwords through content documents.
Document the handoff before someone else runs the task
Instagram automation for beginners often starts with one person doing everything, but another person may eventually cover a holiday or review a failed run. Prepare a short handoff while the setup is still familiar. Include the device name, account display name, task purpose, approved source location, schedule timezone, and the place where outcomes are reviewed. Leave passwords and provider keys in the established secure credential process, not in this document.
The handoff should also explain what a covering operator may change. They might be allowed to pause a task, correct an approved caption typo, or replace a failed cable. They may need approval before changing an offer, enabling another source, or retrying a time-sensitive announcement. These boundaries protect the business decision attached to the task and make cover more useful than a vague instruction to keep things running.
For Instagram automation for beginners, a good handoff can be tested without creating any new public activity. Ask another authorized operator to identify the intended account, find the last result, explain what would count as a duplicate, and locate the pause control. If those steps are unclear, improve the record before increasing the workload. The purpose is practical understanding, not a lengthy procedure nobody reads.
Review the content when circumstances change
A queue can be technically ready and still become unsuitable. A product may go out of stock, a venue may close, a price may change, or an important event may make a scheduled message inappropriate. Assign someone to review upcoming content when a known business change occurs. Pausing affected work is usually easier than correcting a public promise after it is repeated.
Instagram automation for beginners should include this ability to stop deliberately. Keep the connection between the media item and its business owner visible. For an evergreen educational post, the review may be brief. For a launch or limited offer, confirm the destination, availability, and approval close to the scheduled time. The appropriate review follows the consequences of stale information, rather than an arbitrary universal interval.
If an item is held, record the reason and decide whether to revise, reschedule, or retire it. Avoid leaving it silently in a ready source where it can return to the queue later. This small discipline makes Instagram automation for beginners more dependable because the system remains attached to real decisions. A tidy queue is useful only when its contents still deserve to be published.
Keep the beginner system small enough to explain
Instagram automation for beginners is successful when you can explain the input, action, owner, exception, and evidence in plain language. Use the existing setup as a repeatable pattern. When another account or platform is added, verify its supported actions separately; availability differs across SMTasker’s nine platforms. Do not assume that an Instagram workflow transfers unchanged to every other service.
Before expanding, confirm that the existing queue contains approved work, device availability matches the schedule, and errors reach someone who can respond. Check that a second task will not compete for the same account or create duplicate output. Review the new workflow on its own terms, with a fresh brief and a fresh test. Repetition should make your process clearer, not conceal new assumptions.
The lasting lesson of Instagram automation for beginners is straightforward: build one useful workflow, inspect its real result, and keep human decisions attached to it. You can add capacity once the basics are dependable. The first milestone is not a large action count; it is a process you understand well enough to maintain, pause, and improve.
Frequently Asked Questions
What do I need to start Instagram automation?
You need an SMTasker account, the local client on Windows or macOS, a connected Android phone, and the Instagram account you want to use. Start with one phone and one account.
Do I need coding skills to use SMTasker?
No. You configure devices, accounts, tools, sources, schedules, and settings through the dashboard. Android USB debugging may need to be enabled during device setup.
Which Instagram automation should a beginner start with?
Choose one task with a clear source and an easy-to-check result. Publish from a small prepared Media Folder is a practical first example. Review platform rules before considering any automated engagement.
Why is my first automation not starting?
Check whether the phone and local client are online, the tool is started, the current day and time are active, and at least one compatible source is enabled. Then open the Activity Log and show only errors.
Where can I see what SMTasker did?
Use Results for individual actions, Statistics for the daily trend, Summary for complete run history, and the Activity Log for events across the whole setup.
Can I manage several Instagram accounts later?
Yes. Add them after the first workflow is stable. Use clear device names, account names, tags, separate sources, and separate media folders so every setup remains easy to understand.
Build One Workflow You Understand, Then Repeat the Pattern
Your first automation does not need to be large. It needs to be visible and understandable. Connect the Android phone, add the account, choose one tool, give it one source, run a test, and read the result.
After that, every new workflow follows the same map. Start your five-day SMTasker trial and build the first one today. When you are ready to add more tools, use the Instagram Automation overview as your next guide.


