3- Download and Install the local client
Install the small bridge app that lets your web dashboard talk to your phones — on Windows or macOS — and keep automations running 24/7.
Prefer to watch? This step is also covered on our YouTube channel — the written guide below matches it exactly.
To let your Web Dashboard talk to your phones, you install a small “bridge” app on your computer called the Local Client. Without it, the dashboard cannot send commands to your devices. It’s available for both Windows and macOS — pick your operating system in Step 2 below.
Before you start
- Supported systems: Windows 10, 11 or Windows Server 2016+, or a Mac on Apple Silicon (M1 or newer).
- Keep it running: the client stays open in the background so your tasks can run 24/7. If you close it or shut the computer down, the automation pauses until it’s open again.
The Local Client sits in the middle — your dashboard sends commands to it, and it relays them to your phones over USB.
Step 1: Download the client
Log into your SMTasker Web Dashboard. In the bottom-left corner of the sidebar you’ll find a DOWNLOAD button. It automatically gives you the right file for your computer — an .exe installer on Windows, or a .dmg on Mac.
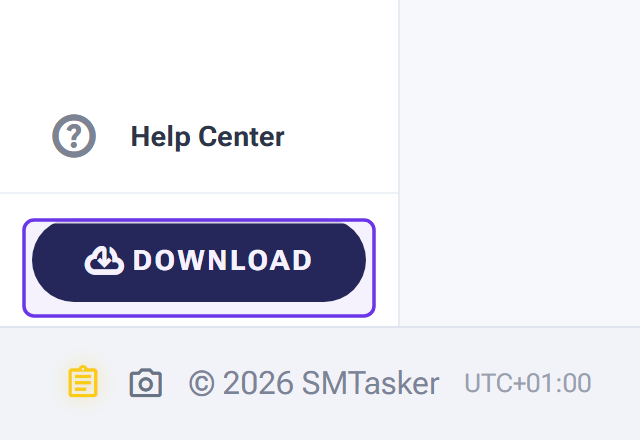
The DOWNLOAD button lives at the bottom of the dashboard sidebar — it’s always there when you need to reinstall.
Step 2: Install and run the client
Pick your operating system — the steps are different for each:
Run the installer
- Find the downloaded .exe file (usually in your Downloads folder).
- Double-click it to start the installation.
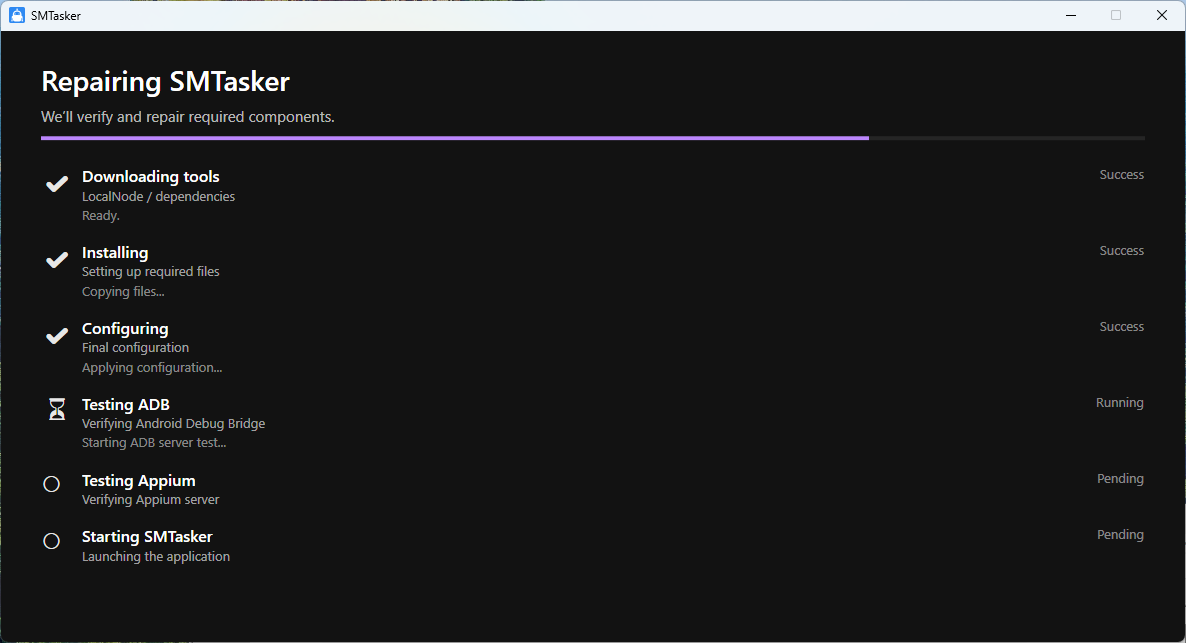
The installer checks each component for you — most steps complete on their own in under a minute.
If a check fails (like ADB Testing)
The installer verifies your ADB connection — the bridge that lets the software talk to your phones.
- Try again: if a red “Failed” appears on any step, click Retry.
- Still stuck? If Retry doesn’t fix it, contact our support team and we’ll get it running.
How do I know it worked?
Once installed, the app minimizes to your system tray (bottom-right of the taskbar) and keeps running there. Leave it running and you’re set.
Open the installer and drag SMTasker to Applications
Double-click the downloaded .dmg file. A window opens showing the SMTasker app next to your Applications folder. Drag the app onto the folder to install it.
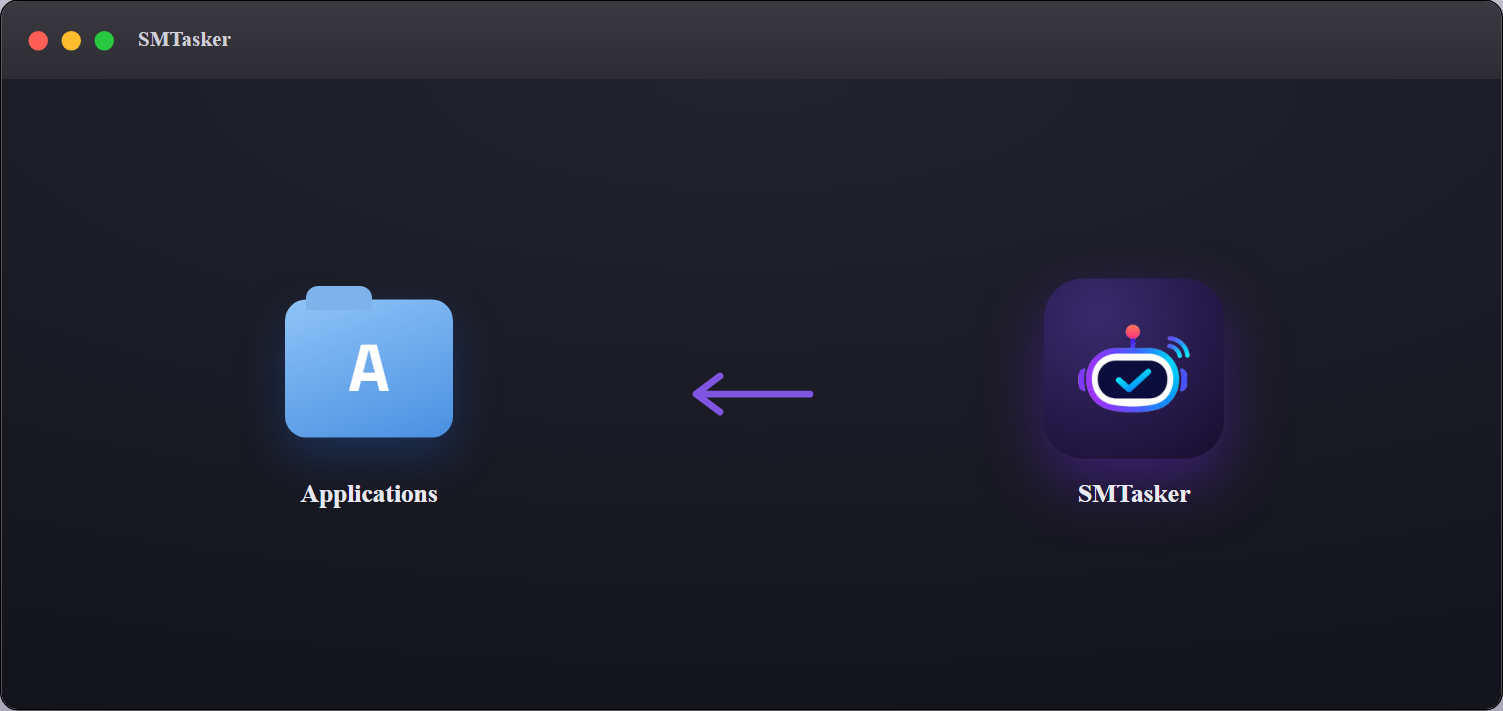
Drag the SMTasker icon onto the Applications folder. Nothing else happens after the copy — that’s normal on a Mac.
Open SMTasker for the first time
Open Applications (in Finder, or press ⌘ Space and type “smtasker”) and launch SMTasker. The first time, macOS asks to confirm an app downloaded from the internet — click Open.
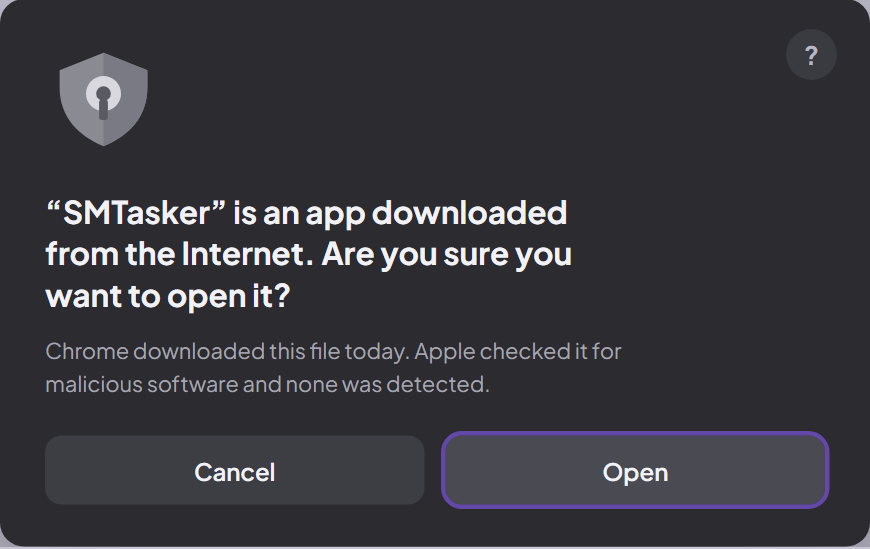
Connect the app to your dashboard
SMTasker opens and shows Connect This Mac. It’s waiting to be paired with your web dashboard.
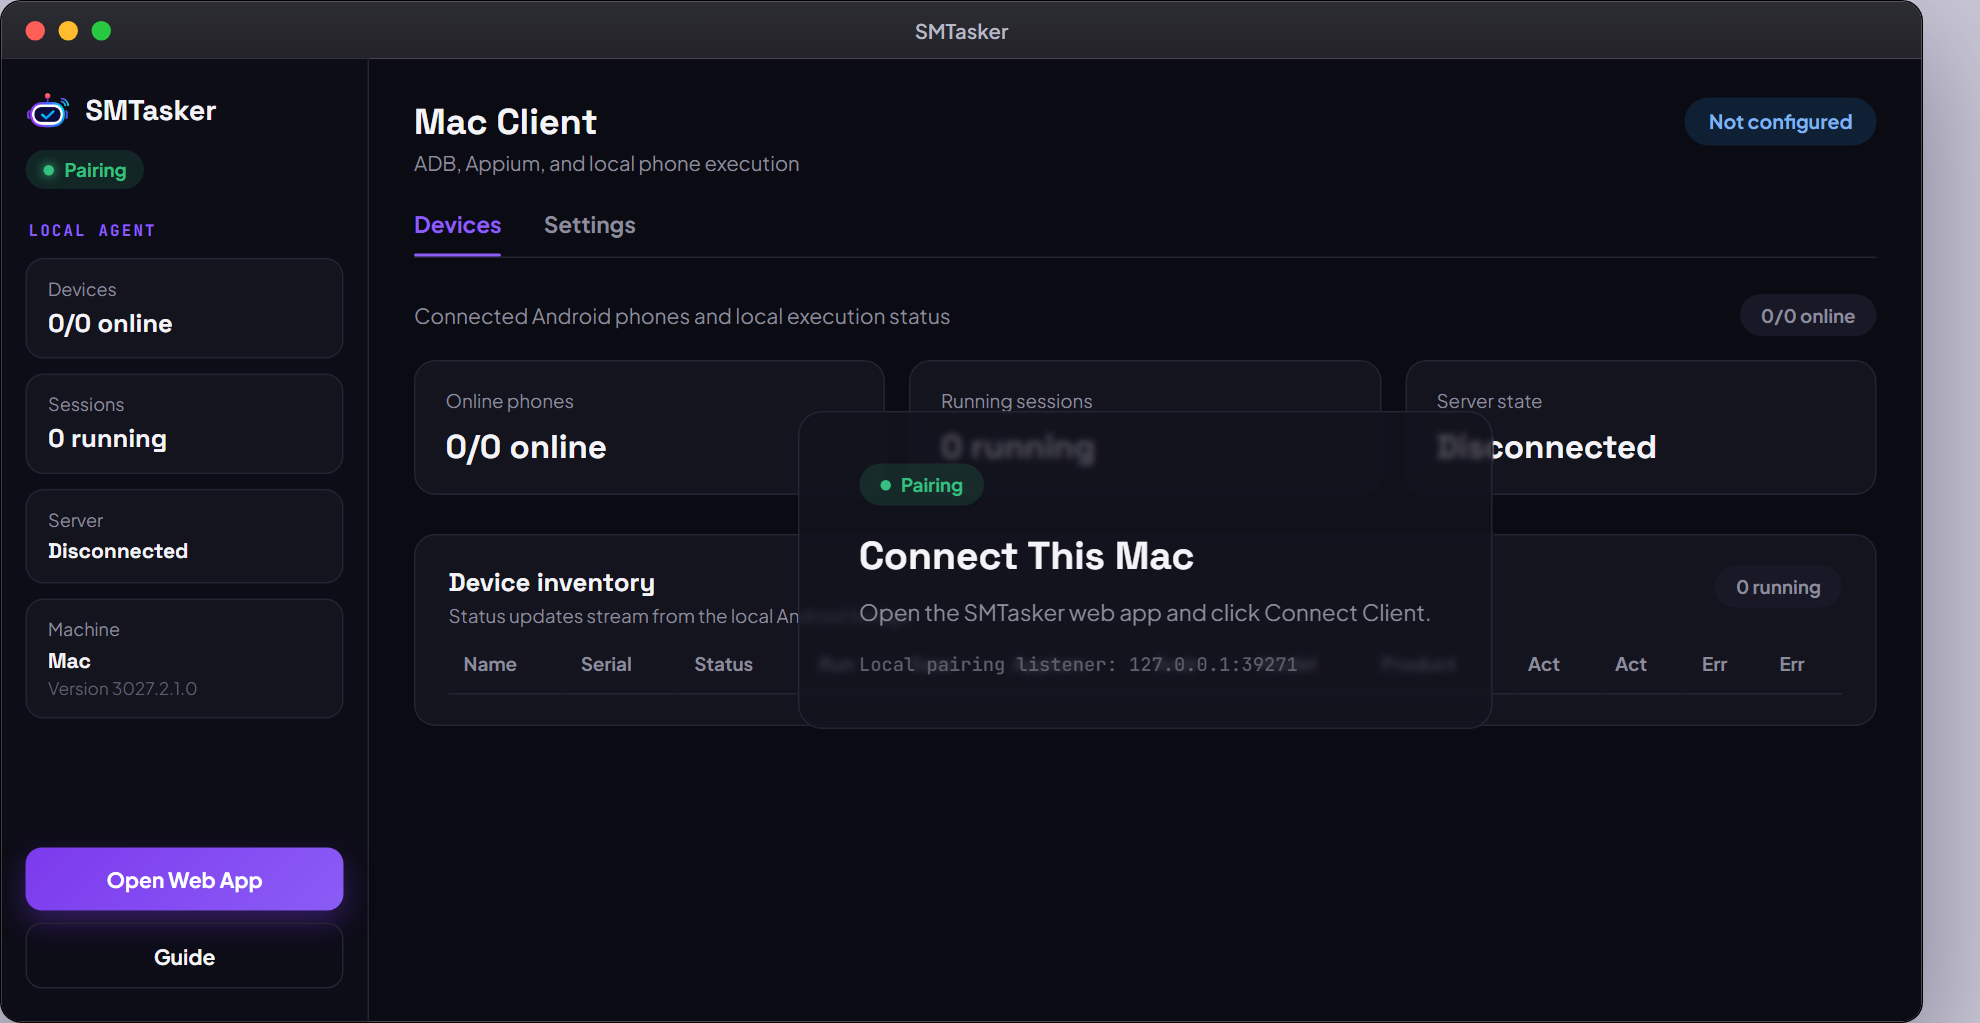
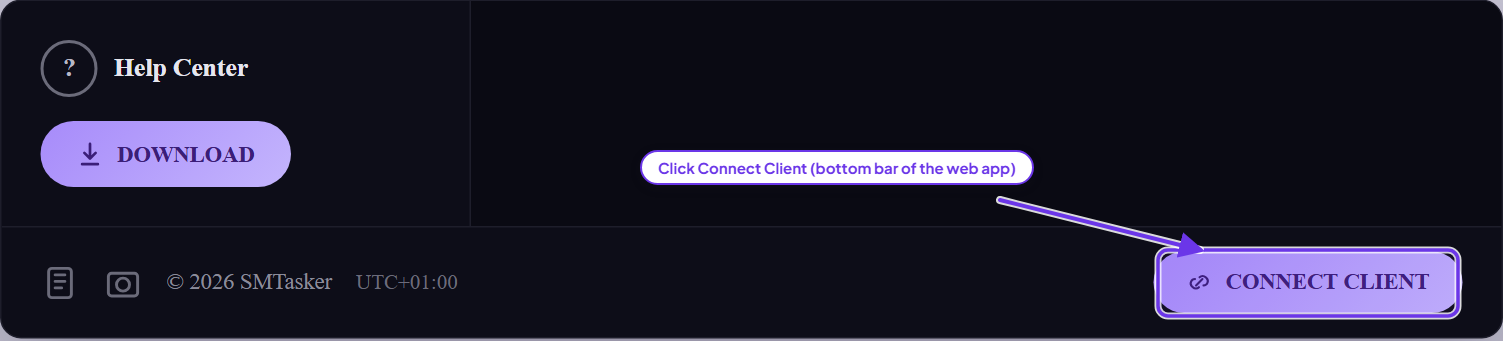
Go back to your SMTasker web app and click the Connect Client button in the bottom bar (next to DOWNLOAD).
Your browser asks whether to allow the website to open SMTasker — click Allow.

Let it install the runtime tools
The app now sets up everything it needs to run automations — Node.js, Android platform tools (ADB), Appium and a few helpers. This runs automatically and takes about a minute.
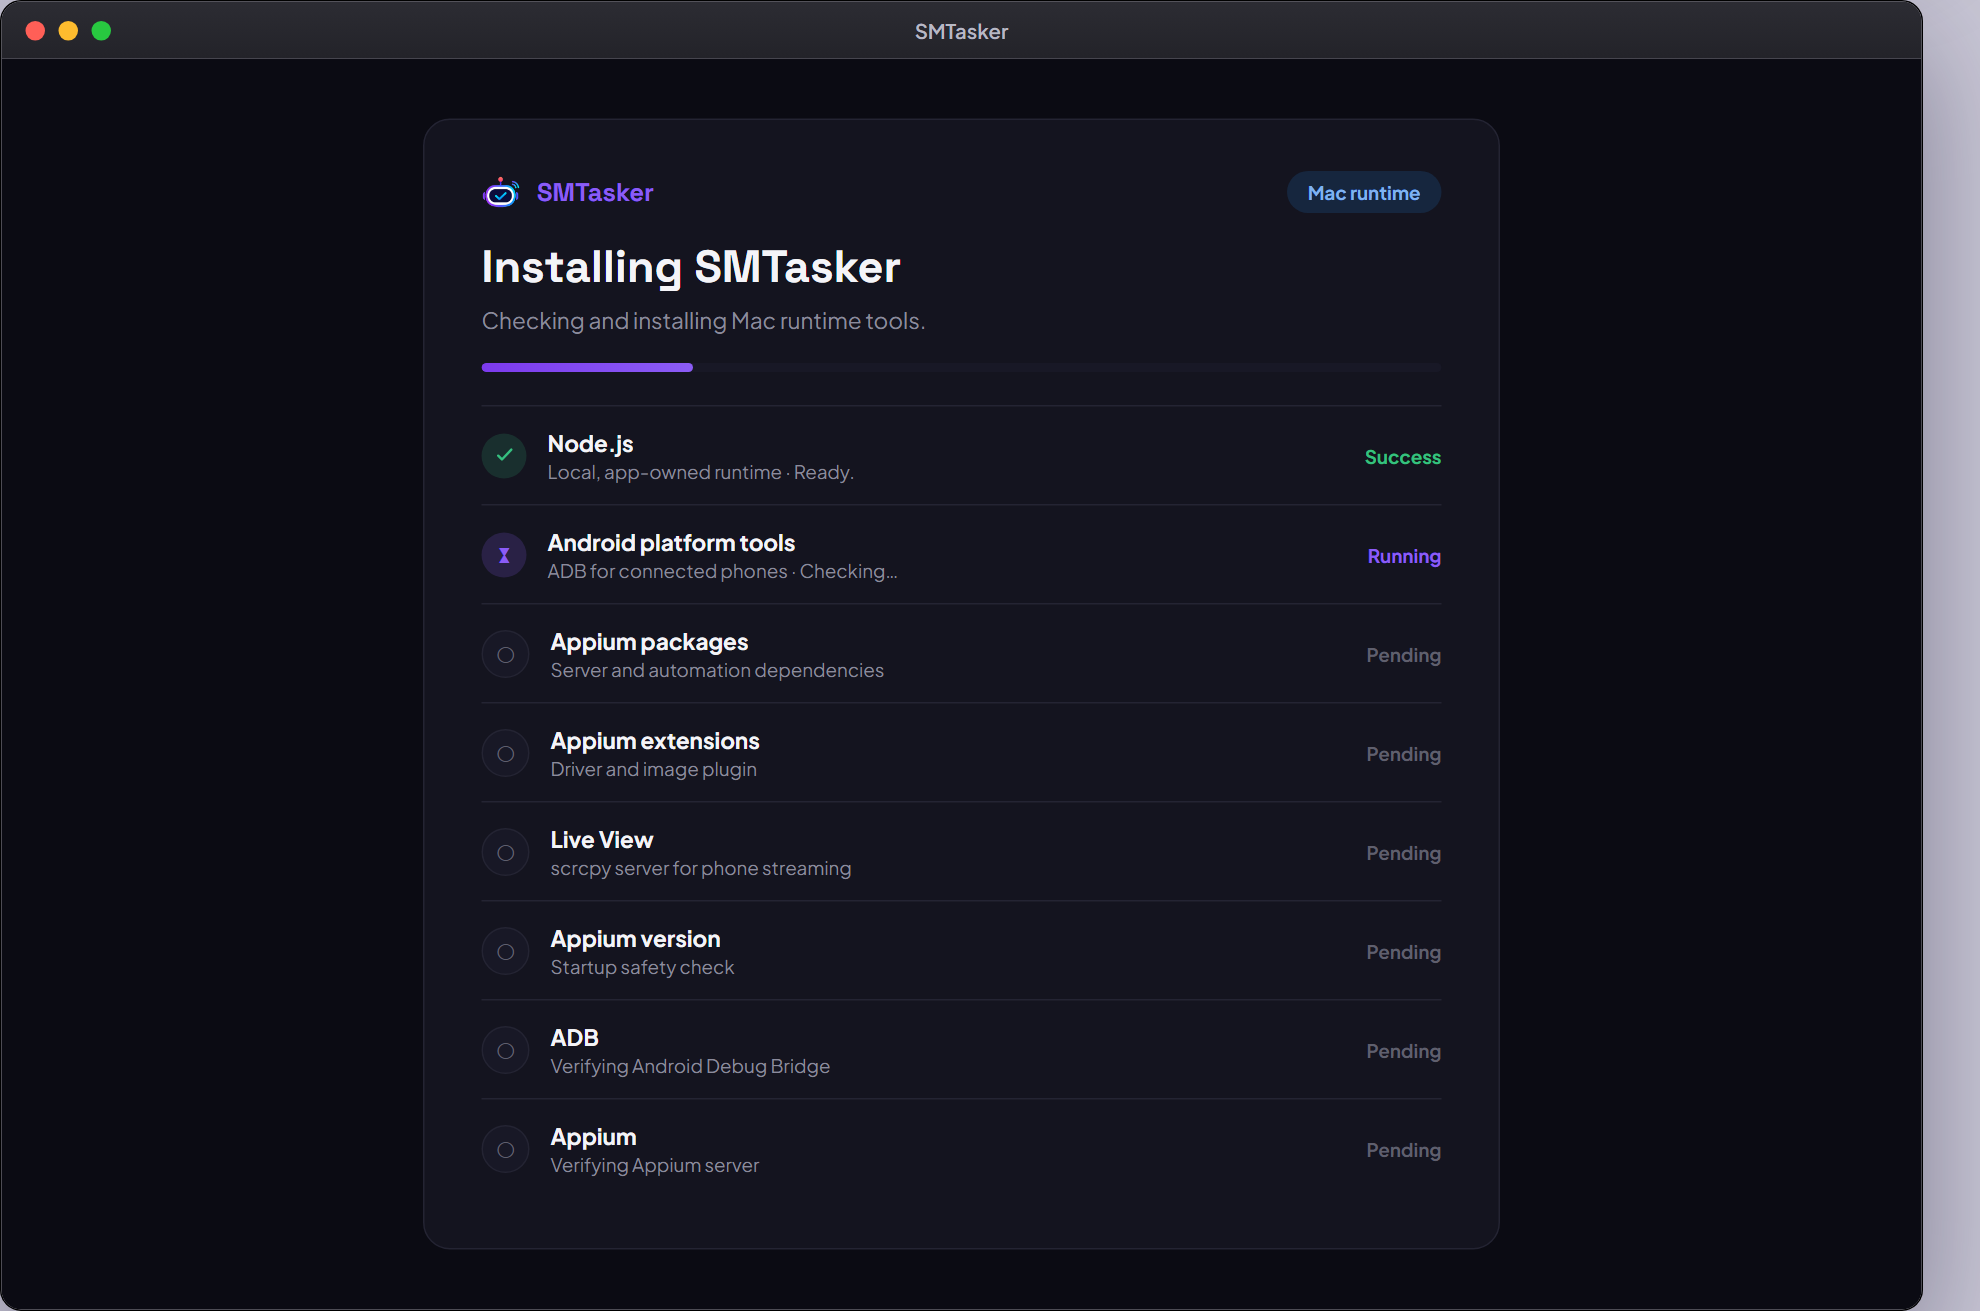
Everything is bundled and installed by the app itself — you don’t need to install anything by hand.
You’re done — the client is active
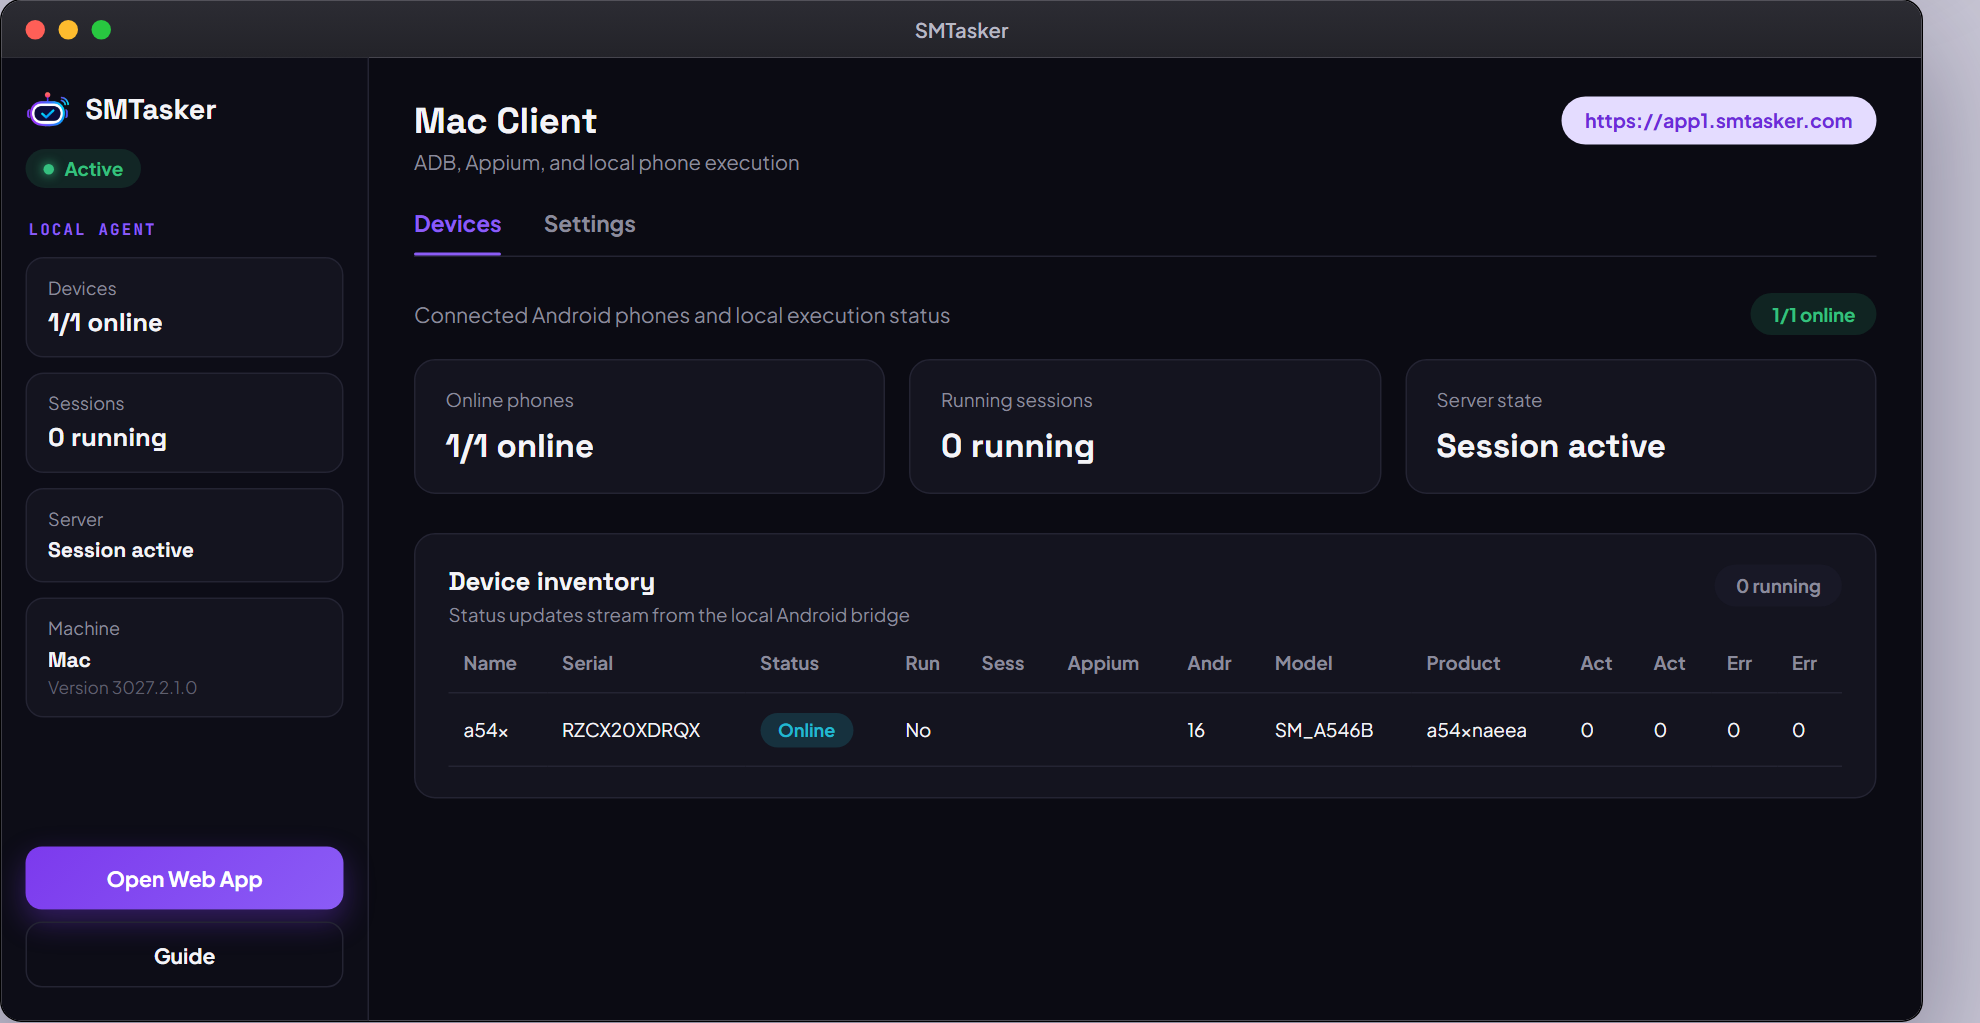
When setup finishes, the badge turns to Active and the server shows Session active. Any Android phone you connect will appear in the Device inventory list.
Keeping the app running & the Reset button
On a Mac there’s no menu-bar tray icon — SMTasker runs as a normal app in your Dock. Leave it open (you can minimize it) so your automations keep running.
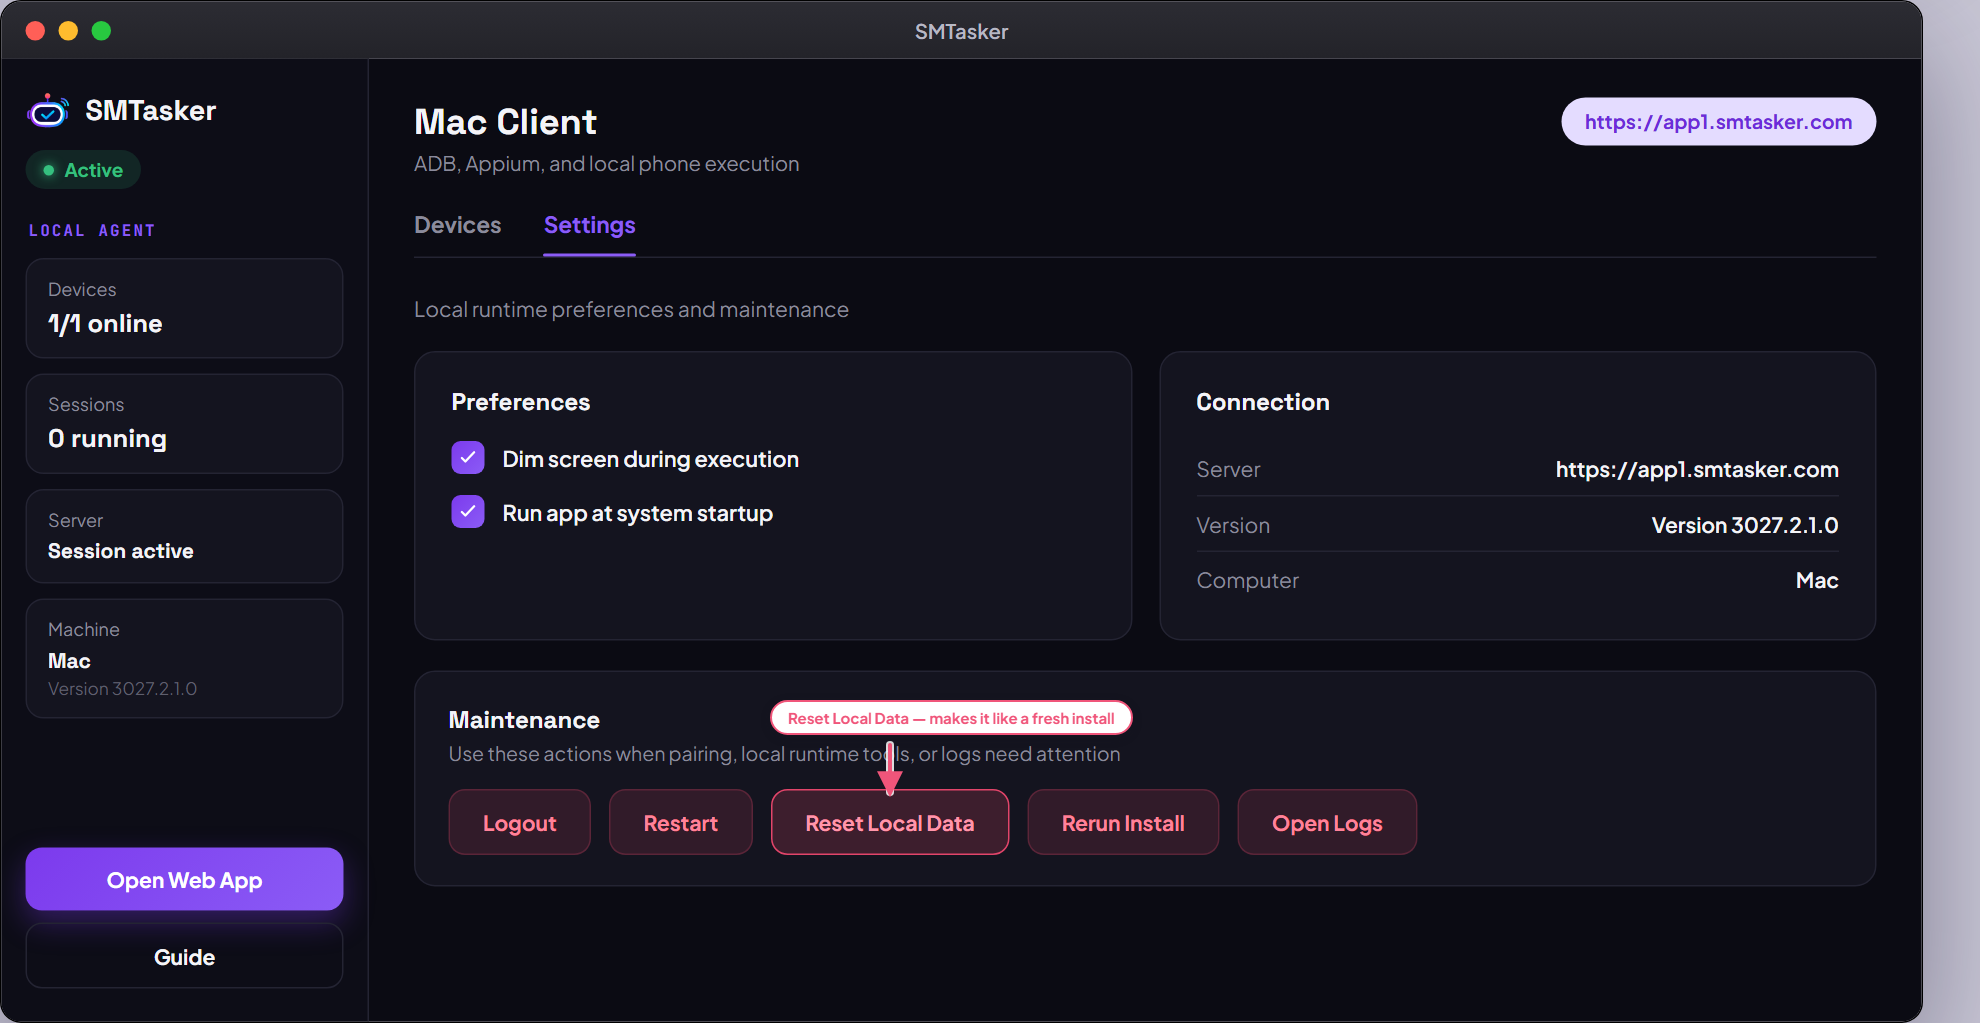
So you never have to remember to launch it, turn on Run app at system startup in the app’s Settings → Preferences. That registers SMTasker in your Mac’s Login Items, so it opens automatically every time you log in.
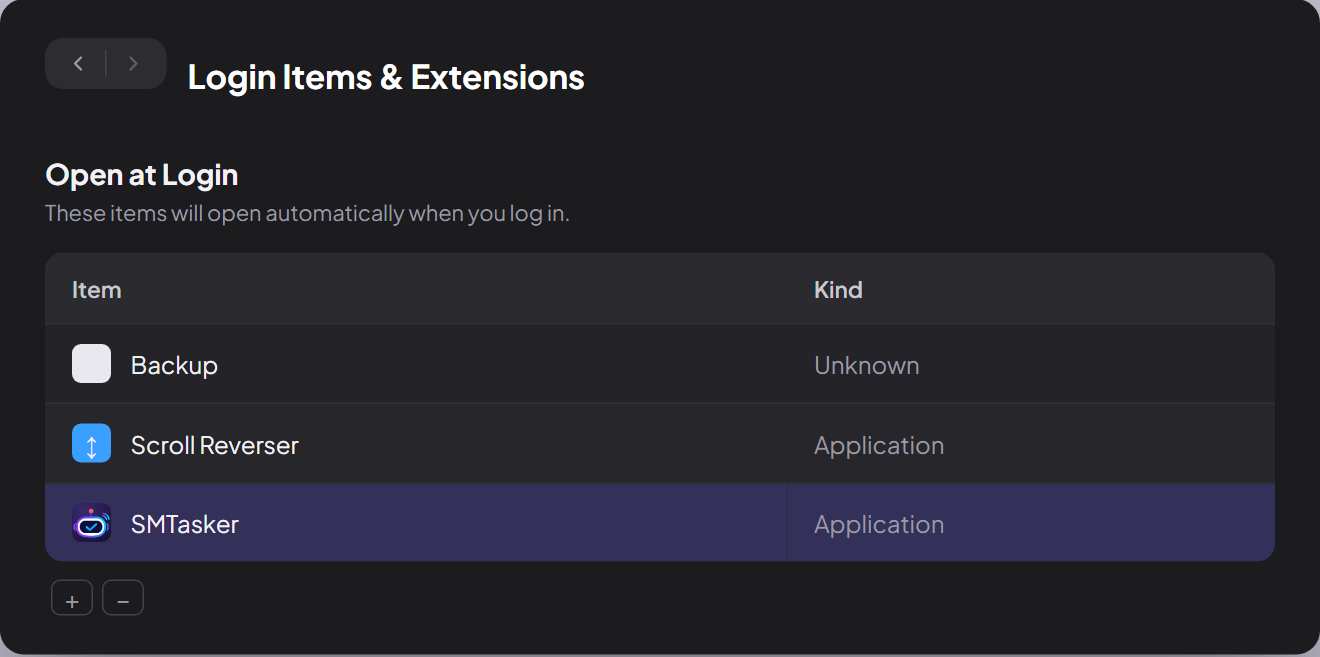
With that preference on, SMTasker appears under System Settings → General → Login Items and starts with your Mac.
The Settings tab has a Maintenance section. If you ever want a completely clean slate, Reset Local Data clears the runtime tools and pairing the app installed and returns it to a fresh-install state.
What happens next
The local client is installed and running. The next step is to get your Android phone ready to connect to it — use the Next card below to continue.