Make the pictures tell one clear story
Photo Collage Maker
Combine 2-9 local photos into one polished image. Choose the layout, adjust each crop and keep a reusable project for your next edit.
One image, several useful views
A collection with a clear focal point.
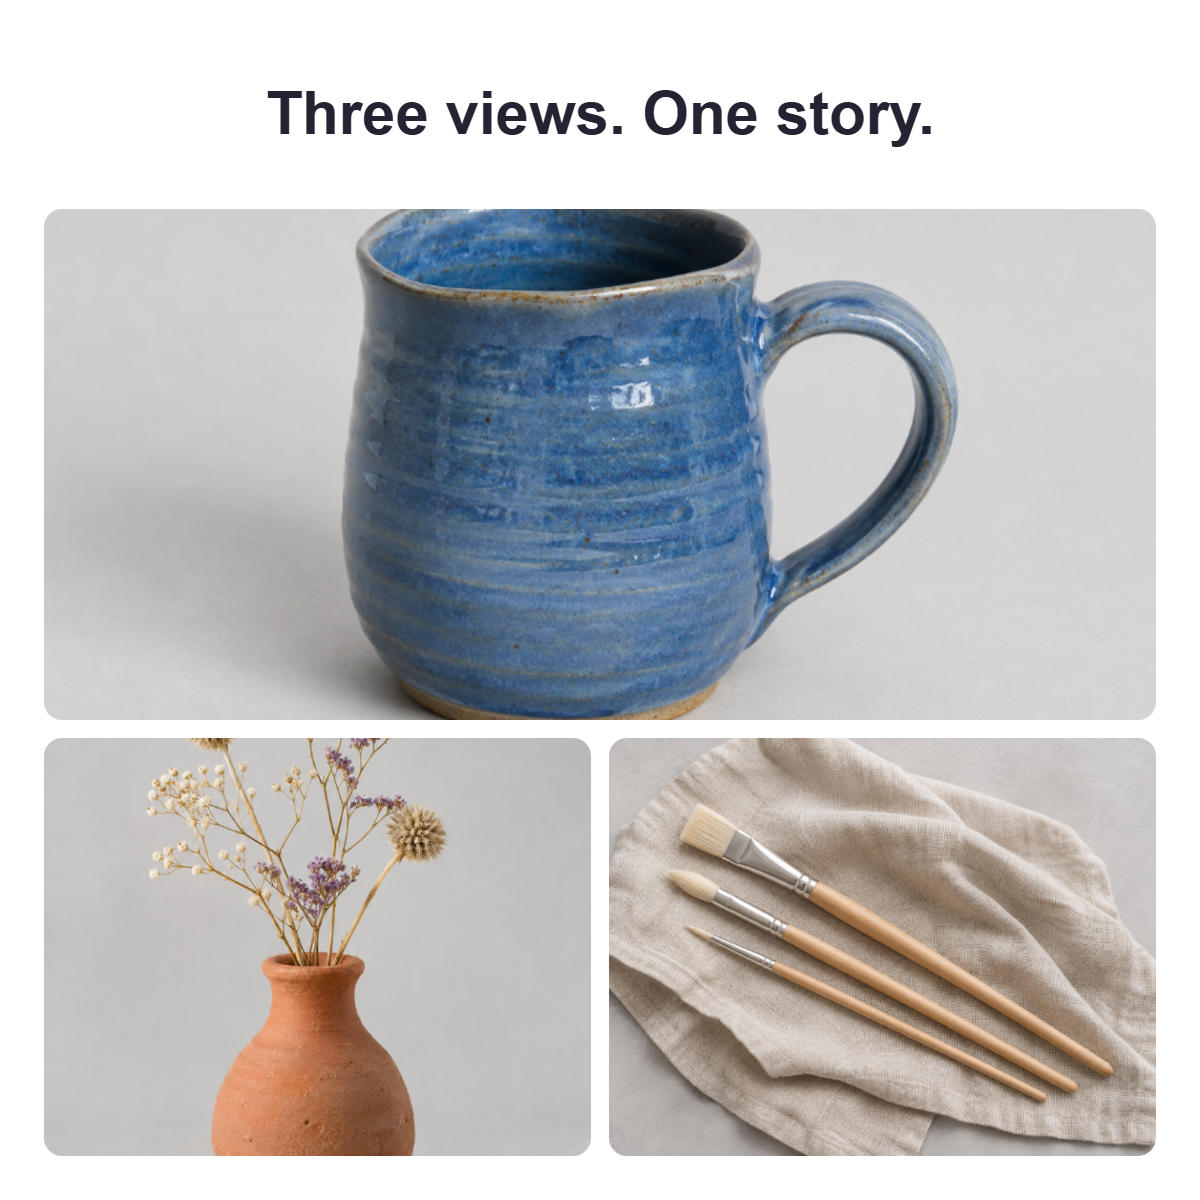
Original synthetic demo scenes, not real customer work or product evidence. The preview shows the actual collage export.
Bring the right photos together
Choose the layout. Frame each photo.
Create one flattened image, not a native gallery, carousel or slideshow. Your source files remain unchanged.
Your layout and photo framing
No photos selected.
Fill tile crops the photo; Fit whole image keeps it complete and ignores the saved zoom/focal choices. Composition may enlarge a prepared photo; it does not recover detail.
Your collage preview
Add at least two photos or load the example.
Click a tile to select its photo. Drag a selected Fill tile photo to adjust its focal point, or use the numeric fields.
Selected-photo outlines appear only here. PNG/JPEG use the complete edited collage, without review labels or selection marks.
Photo order
The editable project includes full prepared photos. It keeps uncropped image data that may not be visible in the collage. Keep it private; share the reviewed PNG/JPEG instead.
Your photos stay local. Still PNG/JPEG/WebP up to 15 MiB each, with preflight checks up to 12,000 px per edge and 40 MP. Each photo is normalized to at most 1,200 px per edge, 1 MP and a 1 MiB PNG; preparation may downsize it. Up to nine photos per collage.
PNG preserves the composed raster; JPEG is lossy. PDF contains the flattened collage and an image-free settings/review inventory, not the editable project or uncropped photo attachments. It may still show private details visible in your composition or labels. No API, source upload, account access, AI, automatic posting, hosting or autosave. Ordinary website resources still load.
How the composition is built
One canvas. Deliberate framing. A useful handoff.
Use the available photos
Balanced rows fill the canvas without blank photo positions. Hero layouts give the first photo more space.
Decide what stays visible
Fill a tile with a deliberate crop or contain the whole prepared picture. Review each image at its actual size.
Keep the right file
Export one flattened image for sharing. Save the complete private project when you want to edit the composition later.
Give the photo set one question to answer
A collage earns its space when the photographs explain something together that one photograph cannot. Start with the question a reader should be able to answer, then select the smallest useful set. Several angles of the same object might explain its shape; a room view beside a detail might explain an activity. Nine available places are not nine places you need to fill. The result here is one still picture with several tiles inside it. Readers cannot swipe those tiles as separate slides or open them as a native photo gallery. Every important relationship must make sense within that single finished frame.
Consider a fictional repair workshop called Morrow Bench. Its organizer wants to show what happened during a stool repair session without presenting the collage as a complete repair tutorial. Five photographs are available: the shared workspace, hands clamping a stool, a close view of the repaired joint, the tools laid out, and the finished stool. The practical goal is recognition: a new visitor should understand the setting, the kind of activity, and the result. The organizer leaves out three near-identical tool shots. Those pictures add volume but no new answer, and would make the meaningful details smaller in the same output.
Write the acceptance sentence in ordinary language: “The viewer recognizes a shared repair session and can connect the joint detail to the finished stool.” That sentence helps decide which photograph should lead and what a crop must preserve. It also sets a limit on the accompanying words. A picture of a successful result does not explain every step or establish that a repair is suitable for another object. Keep any further explanation outside the collage where it can be read comfortably. This editor arranges supplied pictures; it does not discover a story, invent missing photographs, or judge whether the activity shown is complete.
Choose sources that survive preparation
Use Add photos for still PNG, JPEG, or WebP files from your device. Each source must fit three input limits: 15 MiB, a maximum edge of 12000 pixels, and an area of 40 megapixels. The tool then prepares a working PNG with an edge no greater than 1200 pixels, an area no greater than one megapixel, and a size no greater than one MiB. A source can therefore be reduced even when the original is accepted. Check the prepared dimensions rather than assuming the camera resolution remains available. The original file on your device is not overwritten by this preparation process.
Morrow Bench checks the joint close-up first because it contains the smallest meaningful feature. A wide room photograph can tolerate reduction more easily than a tiny line between two pieces of wood. If the joint disappears at the prepared size, use a closer source photograph instead of increasing Zoom and expecting new detail. The five prepared photographs are the material available to the layout. Enlarging one of them spreads its existing pixels across more space. It can make the subject occupy more of a tile, but cannot recover texture or lettering that was absent or lost during preparation of that working image.
Inspect source backgrounds before importing the set. In the fictional workshop, a noticeboard behind the tool table contains a personal phone number. Hiding that board with a tile crop would change the visible collage, but would not remove it from the full prepared photo stored by Save project. Prepare a separately edited source with the Image Redactor when a detail needs covering, then inspect that edited file before adding it. Use neutral photo names such as “Tool table” for the review inventory. The tool does not copy original filenames or source metadata, but your own labels can still disclose information.
Match the layout to the relationship
Balanced grid gives photographs comparable visual weight. With five pictures it makes a row of three and a row of two, with both rows filling the available width. There are no empty placeholder positions waiting for a sixth picture. Hero left and Hero top make the first photograph larger, with the remaining pictures arranged beside or below it. Horizontal strip places every picture in one row; Vertical stack places them in one column. These choices express different relationships before a viewer reads any words. Decide whether the set is a collection of equals, one main view with supporting details, or an ordered run of views.
For the workshop recap, Hero left makes sense when the finished stool is the first photograph and the other four explain its context. The hero receives 55 percent of the usable width after the separating gap; that is not 55 percent of the whole canvas once margins and other reserved space are considered. Move earlier and Move later change the order without requiring thumbnail dragging. Put the finished stool first, then arrange the room, hands, joint, and tools in an order that feels natural to scan. Every supplied photograph remains part of the collage unless you explicitly remove it from the set.
Compare that arrangement with Balanced grid before settling. In the grid, the finished stool is less dominant, which may better suit an equal record of the session. A five-picture Horizontal strip makes each tile narrow; it may work for tall objects but lose the width of the shared workspace. Vertical stack can give room views useful width while making the whole composition depend on several shallow bands. No layout is automatically the most professional. The useful choice is the one in which each photograph still performs its assigned job. Remove a weak image before squeezing all the strong images into less readable spaces.
Set the canvas before refining individual crops
The four preparation canvases are Square at 1200 by 1200, Portrait at 1080 by 1350, Vertical at 1080 by 1920, and Landscape at 1600 by 900 pixels. Choose the overall shape that suits the composition you intend to prepare. Preparing for selects a context, including X among the nine options; it does not connect an account or test a native upload. A canvas is a working output size, not a guarantee about every placement on a platform. Review the actual composer separately when you use the finished file. Set the canvas early because changing its proportions also changes the shape of the photo tiles.
Morrow Bench compares Square with Landscape. The square gives the finished stool enough height without making the supporting room view too shallow. Landscape allows a wider view of the shared workspace, but leaves less vertical room for the stool legs. This is a content decision, not a contest between aspect ratios. Start with a modest Margin and Gap, then judge the photographs at an ordinary reading size. Larger margins make the pictures smaller inside the same fixed output. Larger gaps separate them more strongly. Neither adjustment adds image detail, and both can reduce the usable area available for a small supporting feature.
Corner radius softens tile corners, while one of five opaque Color themes supplies the surrounding background. These are framing choices, not filters applied to the source photographs. Keep the joint away from a rounded corner where it might disappear from view. Gap accepts 0 through 48, Margin 0 through 100, and Corner radius 0 through 40 in the tool reference scale, so a displayed value is not necessarily that many exported pixels on every canvas. If the combination leaves tiles too small, reduce spacing or change the layout. The tool refuses impossible geometry instead of overlapping pictures to make a draft appear to work.
Make every crop intentional
Select a tile or use Photo to edit, then choose between Fill tile and Fit whole image. Fill tile covers the tile completely and can crop away source edges. Zoom runs from 100 to 300; a value of 100 means the base fill scale, not a promise that every source pixel is visible. Focal x and Focal y, each from 0 to 100, control the position within the available cropped overflow. Center crop restores a centered starting point. The tool does not detect faces, tools, or subjects, so you decide which details deserve the available space in each particular tile.
For the hands photograph, keep the clamp and the contact point visible together. A tight crop that shows only fingers may look lively but no longer explain the workshop activity. Drag inside a selected Fill tile to adjust its focal position, or use the numeric fields for a keyboard route. Focal x 50 and Focal y 50 center the overflow; moving either value matters only where the scaled picture extends beyond the tile on that axis. Make one small adjustment and inspect the complete collage. A technically valid crop can still weaken the relationship between the close-up and the finished stool.
Fit whole image contains the entire prepared picture inside the tile and can leave background space on two sides. It is useful when the full stool outline matters more than filling every corner. Zoom and focal settings are inactive in this mode, although valid values remain available when returning to Fill tile. Replace photo keeps the selected slot, order, photo name, and crop settings, so inspect the replacement immediately: the same numbers can frame a different source badly. Adding a picture is different from replacing one. It increases the set and can rearrange the grid, changing crops elsewhere even when those photographs themselves remain unchanged.
Keep words light and inspect the downloaded image
Title and Footer are optional, with limits of 80 and 60 characters. They occupy fixed bands outside the photo tiles rather than becoming individual photo captions. Morrow Bench uses “Saturday at Morrow Bench” as the title and leaves the footer empty because the surrounding post already explains the occasion. Photo name is a neutral review label, not visible artwork text. Avoid trying to place five explanations in a single footer. The renderer must fit the entire entered text legibly or refuse the result; it does not quietly trim the end. Short wording improves readability; leaving a text field empty returns its reserved band to the photographs.
Download PNG or JPEG after the preview reflects the current draft, then open the actual file outside the editor. Both are fresh flattened images of the composition, without separate editable photo layers or selection outlines. The background is opaque. JPEG uses a lossy quality setting of 0.94, so fine wood grain and sharp edges can differ from the PNG. Inspect whichever file you will actually use. For this workshop set, check that all stool legs remain visible, the joint detail is recognizable, and the noticeboard stays appropriately covered in the edited source. A good preview is not a substitute for this exported-file check.
If file weight needs further attention, pass the approved flattened result to the Image Compressor and review that new file separately. Compression is a later task, not a reason to skip checking the original collage export. An edit to the collage invalidates previously prepared outputs in the tool, but cannot replace an older download already stored on your device. Keep version names clear in your own folder. If you change the title, spacing, crop, or photo order after approval, obtain a new image and repeat the relevant checks. Handing off the wrong older file can undo an otherwise careful composition review.
Separate the editable project from the review proof
Save project creates local JSON for reopening the work with Open project. It contains the full prepared, uncropped photographs, including areas hidden by Fill tile, rounded corners, or the visible composition. It is not a settings-only file and should not be treated as public artwork. Keep it in a suitable private location if the full photographs are not meant for everyone receiving the final collage. The saved pictures are the prepared versions, not an archive of the original camera files at their original resolution. You can save an empty or one-photo draft, but image and review outputs need at least two photographs.
The PDF serves a different purpose: it contains a flattened collage proof and a complete readable inventory, with image-free settings and review JSON attachments. It does not attach the full editable project or the uncropped prepared photographs. That distinction does not make the PDF blank or confidential by default. Its visible proof still shows the collage, and its inventory still includes your labels and settings. Morrow Bench sends a reviewer the PDF when the question is whether the current composition is ready, and keeps project JSON with the editor who may need to change the individual crops later in the same set.
Copy review, text, and CSV give the complete inventory without requiring someone to inspect the PDF pages. Choose the handoff that answers the recipient question, and read its contents before sending it. An inventory can explain which photo occupied which position, but cannot replace the image when the question is visual clarity. Equally, a flattened PNG cannot restore the five separate prepared pictures for editing. If a PDF exceeds its supported budget, use the complete alternative exports rather than an incomplete proof. Keep any source originals in your own storage; neither the review report nor the reduced working pictures replace that separate source archive.
Finish with a usable single-image handoff
Save what you need before leaving the page. There is no autosave, hosted project, account storage, AI processing, or automatic publishing. The photos are handled locally; ordinary site resources can still load, so local processing does not mean the whole website works offline. If you return through browser history and the page offers Restore photos, use that explicit action to rebuild retained working photos. A full reload needs Open project or a fresh selection of the sources. Do not rely on an open tab as your only copy of a composition that someone else needs tomorrow. Keep the approved image and the editable project deliberately separate.
Prepare an image description from the finished collage, not from the uncropped source photographs. For Morrow Bench, useful wording might explain that a finished stool sits beside smaller views of clamping, a joint detail, tools, and the shared workshop. The Alt Text Writer supports that separate writing task; the collage editor does not embed a native social description for you. Include the relationship between the views rather than just listing five objects. If a title carries information that matters, carry that meaning into the accompanying text too. A viewer should not need to decode a tiny background sign to understand the session.
The final handoff is one reviewed PNG or JPEG, a short accompanying explanation, and an identified person responsible for using the correct file. Keep the PDF only when a review record is useful, and restrict the editable project according to the full photographs it contains. The collage does not become a carousel, slideshow, video, or scheduled post when a platform context is selected. SMTasker account automation and Skye are separate workflows, not hidden parts of this editor. Finish the visual decision here, then handle any broader account routine separately. The outcome should be simple: several purposeful views that remain understandable as one picture.
Choose the purpose of your collage
Platform and composition guides
Different image sets and publishing contexts, with a complete route back to the tool and the other guides.
Instagram Photo Collage
Bring a focused set of photos together with a clear visual hierarchy and deliberate crops.
Read the guideTikTok Photo Collages
Prepare a still composition that supports a short-form story without confusing it with a video or gallery.
Read the guideYouTube Photo Collages
Use supporting photos to explain one subject clearly in a thumbnail or community-image workflow.
Read the guideFacebook Photo Collage
Give a community collection a readable order and enough context without crowding one image.
Read the guideLinkedIn Photo Collage
Present a professional photo set with a deliberate lead image and useful supporting views.
Read the guideThreads
Build one discussion image that makes a visual question easier to follow.
Read the guideX (Twitter)
Show a concise visual comparison that supports the point of the surrounding post.
Read the guideSnapchat Photo Collages
Create a compact photo story from pictures you control, then inspect the finished image.
Read the guidePrepare a useful visual comparison for a discussion, with consistent framing and clear context.
Read the guideBefore and After Collages
Keep a before-and-after comparison understandable without changing the evidence through inconsistent crops.
Read the guidePhoto Collage Layouts
Choose between balanced rows, hero layouts, strips and stacks based on what the photos need to explain.
Read the guideQuestions about making a photo collage
Does the maker create a carousel or a photo gallery?
No. It combines two to nine supplied still photos into one flattened PNG or JPEG. The tiles are parts of that one image, not separate slides.
Why does Fill tile hide part of a photo?
It fills the tile while preserving the photo proportions, so edges can be cropped. Adjust the focal position or choose Fit whole image to show the entire prepared photo.
Does Save project include the hidden parts of my photos?
Yes. The JSON contains every full prepared, uncropped photo, including areas outside the visible tile crop. Keep the project private when those areas are not intended for sharing.
Does the PDF include the editable photo project?
No. It includes the flattened collage proof, complete inventory, and image-free settings and review JSON attachments. The visible collage and labels still require review before sharing.
Will my work return after a reload?
There is no autosave. Reopen a saved project or select sources again after a reload. A history-restored page may offer an explicit Restore photos action for retained working data.
One approved asset, a clearer next step
Build a consistent account routine
Use SMTasker for supported account automation beyond this local editor. Collage files are not automatically imported, hosted, or published.